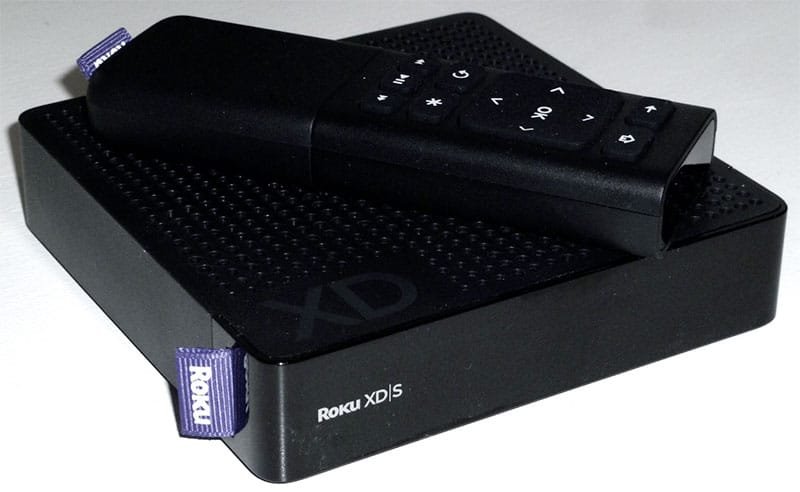
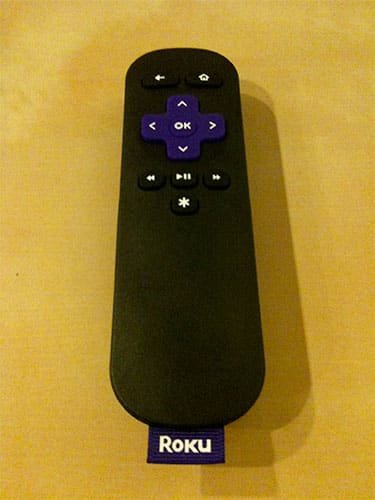
While the Roku remote is typically easy to use, sometimes the remote and the Roku device itself become unpaired.
Typically when this happens you just re-pair the remote to the Roku with the pairing button – but some remotes don’t have a pairing button.
So now what? How do you sync your Roku remote without a pairing button?
Fortunately this is a pretty easy process and we can walk you through it, with the easiest way being using the smart phone app.
Let’s look at some easy and effective solutions to this problem.
Method #1: Use The “Pair Remote” Option
As long as you have a TV that has some physical buttons on it, you can use this method to pair your remote to the Roku without a pairing button.

Step 1: Access the Home Screen
The first step in pairing your Roku remote is to access the home screen of your Roku device.
From here, you will be able to navigate to the settings and find the remotes option.
Step 2: Navigate to the Remotes Option
Once you have accessed the home screen, look for the settings option located on the left panel.
From here, select the remotes option to proceed to the next step.
Step 3: Select the Pair Remote Option
With the remotes option selected, you will now see the option to pair your remote.
Simply select the “Pair Remote” option and sit back as your device automatically syncs with your remote.
Step 4: The Grand Finale
In most cases, your remote will pair seamlessly with your Roku device, but if for some reason it doesn’t, don’t fret.
Attempt to reset your Roku or troubleshoot your remote and you’ll be back to streaming in no time.
Method #2: Use The Roku App On Your Smartphone
With the official Roku app, you can control your Roku from any device, be it Android or iOS.
So, sit back, relax, and get ready to say goodbye to visible pairing buttons forever.
Step 1: Download the Roku App
The first step in syncing your Roku remote is to download the free Roku app from the Apple App Store or Google Play Store.
Step 2: Log in to the Roku App
Once you have the app installed on your device, open it and log in using the same credentials you used to access your Roku device.
This will give you access to the Remote option on your screen.
Step 3: Access the Remote Option
With the app open and logged in, touch the Remote option on your screen.
From here, use the on-screen arrows to navigate to Settings on your Roku.
Step 4: Navigate to the Remotes and Devices Option
With the Settings option selected, navigate to the Remotes and Devices option on your TV.
This is where the magic happens.
Step 5: Pair a New Device
Select the option to Pair New Device, and your Roku device will start searching for new remote controls in the area.
Keep your unpaired Roku remote close by so that it may be quickly found and matched.
Step 6: Enjoy Seamless Streaming
Once your remote has been paired, you no longer need to press the pairing button to use it with your device.
Your Roku device will automatically detect compatible remotes, and if your remote is operating correctly, you shouldn’t have any problems.

Method #3: Use A Standard IR Remote
It’s important to note that only some Roku products, such as Roku TVs that use an infrared sensor, will accept the Simple IR remote.
So, make sure to check if your device is compatible before proceeding.
Step 1: Turn On Your Roku Device
The first step in using your IR remote is to turn on your Roku device by connecting it to a TV.
Step 2: Choose the Appropriate TV Input Source
Once your Roku is connected, choose the appropriate TV input source for your Roku player.
Step 3: Insert Batteries into the IR Remote Control
Next, insert batteries into your IR remote control.
Step 4: Point and Press
With the batteries inserted, simply point the remote at your Roku device and press any button.
Step 5: Wait for Synchronization
Wait a short while for the synchronization procedure to be finished, and voila!
Your new remote is now operational.
Where Do I Find The Pairing Button On My Roku Remote?
Are you tired of searching for the elusive pairing button on your Roku voice remote?
Let us help you locate the pairing button with ease, so you can enjoy seamless voice control of your Roku.
Standard Batteries and a Microphone Pinhole
If your Roku voice remote has standard batteries and a microphone pinhole located below the power button, the pairing button can be found below the battery cover, right beside the status light.
Older Models
For those who have an older model, the status light may be located at the front.
No matter what model you have, the process for pairing remains the same.
Can’t Find the Pairing Button?
If, despite your best efforts, you still can’t find the pairing button, don’t worry!
In the next section, we’ll guide you on how to pair your Roku voice remote without the use of a button.
How To Fix A Roku Remote That Won’t Pair
Are you facing a persistent issue with your Roku remote not pairing?
Before you throw in the towel, try these simple troubleshooting tips to get your remote back in action.
Battery Check
The first step in troubleshooting a Roku remote that won’t pair is to check the batteries.
Make sure they’re not dead, and that they’re installed correctly in the battery compartment.
A fresh set of batteries could be all it takes to get your remote back up and running.
Remove Obstructions
If your batteries are good, the next step is to look for any physical obstructions that may be blocking the signal from the remote to the Roku player.
Remove any potential obstructions, then retry pairing.
Restart Your Roku
Sometimes, a quick reset can do wonders.
Unplug your Roku player and remote from their power sources, including the TV, then wait for 30 seconds before plugging everything back in.
Make sure to insert the batteries into the remote after the Roku Home Screen appears.
How To Hard Reset A Roku
Has your Roku remote become unresponsive despite your best efforts to get it back up and running?
Don’t lose hope just yet!
A hard reset, also known as a factory reset, might just be the answer to your problems.
Here’s how to do it:
- Navigate to the Home Screen: Press the “home” button on your remote.
- Access Advanced System Settings: From the scroll-down menu, select “settings,” then “advanced system settings.”
- Initiate the Factory Reset: Click “factory reset.” A pop-up screen will appear with instructions, and in just a few moments, the reset process will commence.
With this powerful tool, you’ll be able to bring your Roku back to its original factory settings, freeing it from any glitches or hiccups that may have been hindering its performance.
Give it a try, and you’ll be back to streaming in no time!
